3 Exercises
3.1 Launch Terra
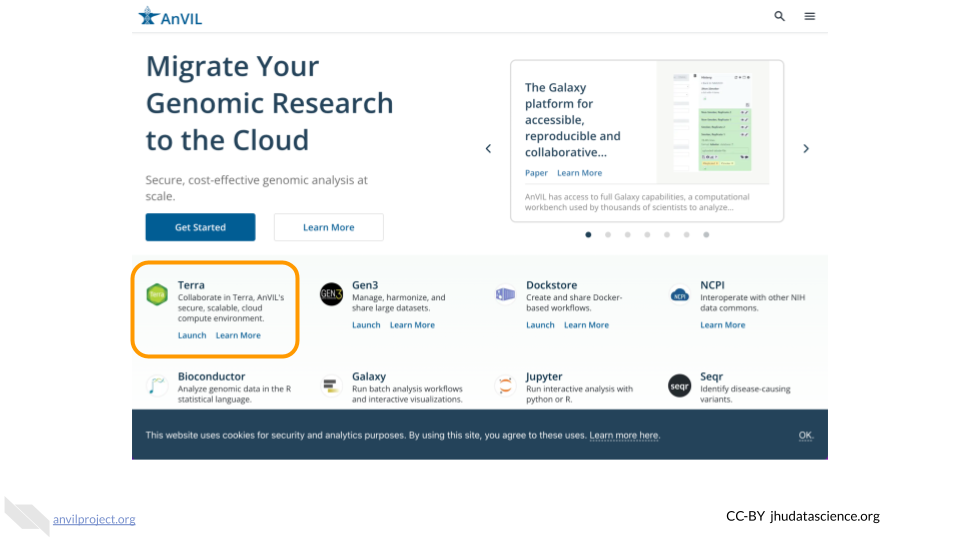
Go to anvilproject.org, find the box that says Terra, and click on “Launch”.
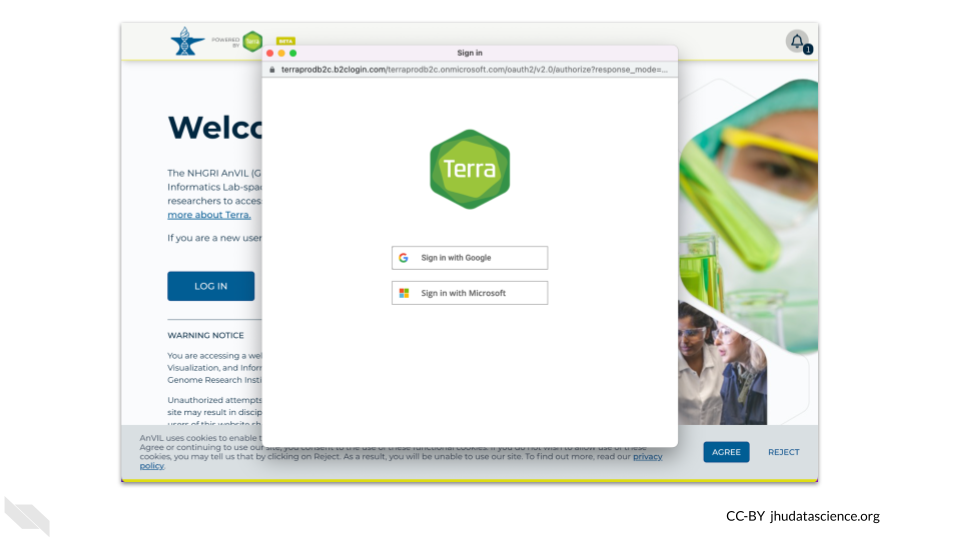
 Next, you will need Log in.

If you have never used AnVIL before, you will need to create a new account. You can use a Google or Institutional account to log in. Otherwise if you already have an account, you can skip ahead to the next section.
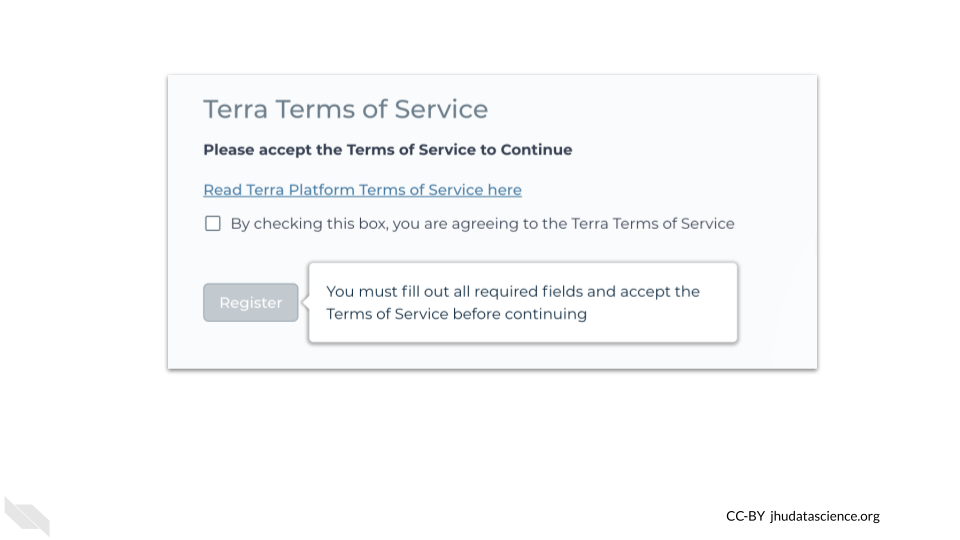
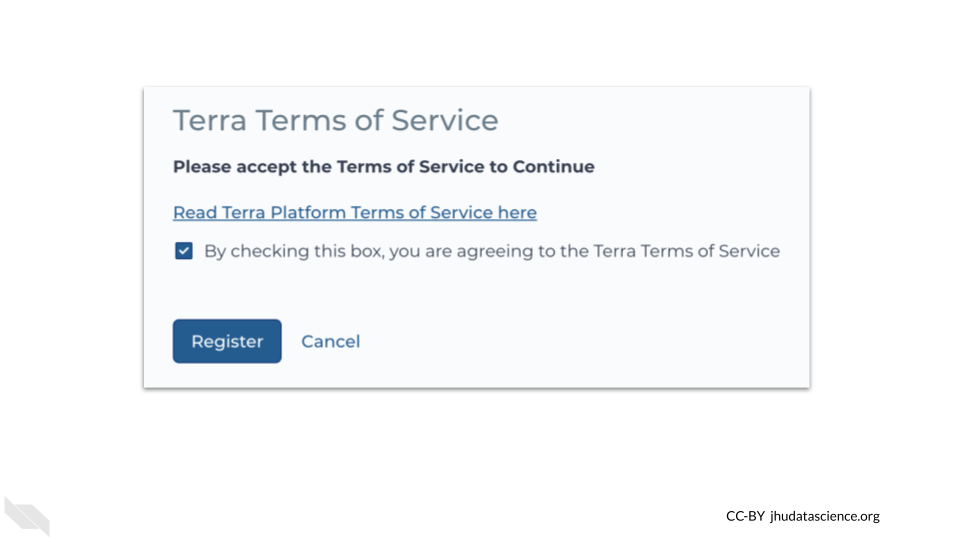
To create an account you will need to supply some information and read the Terra Terms of Service.
If you accept the Terms of Service, check the box for agreement and the register button will become active.
This will open a new tab for you of the AnVIL workspaces, now you are ready to start working in AnVIL!
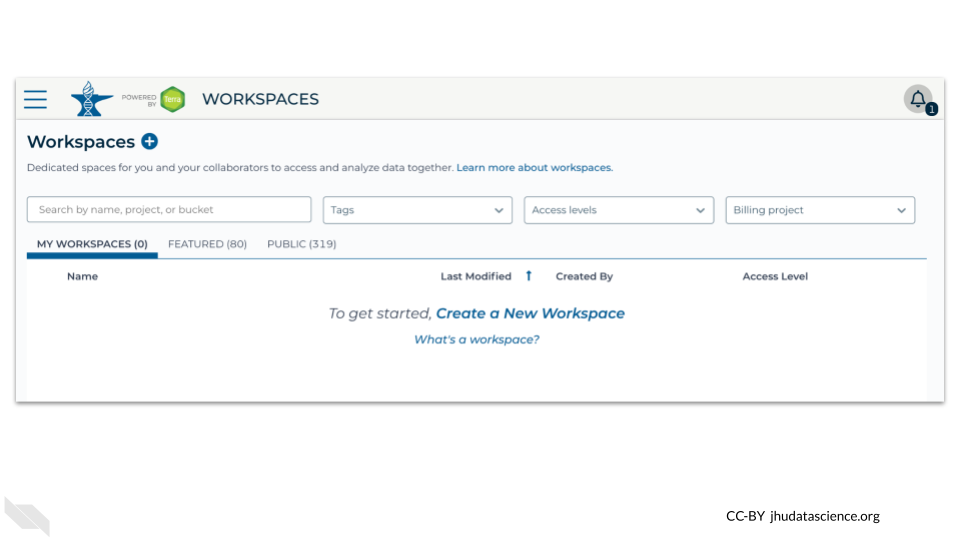
3.2 Clone HPRC Workspace
At anvil.terra.bio/#workspaces:
- Enter
hprcin the search box - Click on the “Public” tab
- Find the AnVIL_HPRC workspace
- Click on the circle with three vertical dots on the right side of the workspace information window

Select “Clone” from the menu options.
You can also directly access the workspace going to this link: https://anvil.terra.bio/#workspaces/anvil-datastorage/AnVIL_HPRC
If you have set up billing before, you can skip ahead to the Starting a cloud environment section.
If your instructor has provided a billing project, you can skip to the Use a billing project section.
3.2.1 First Time Billing Setup
If this is your first time on AnVIL, you will likely get a message that you need to start a Google Cloud billing account.
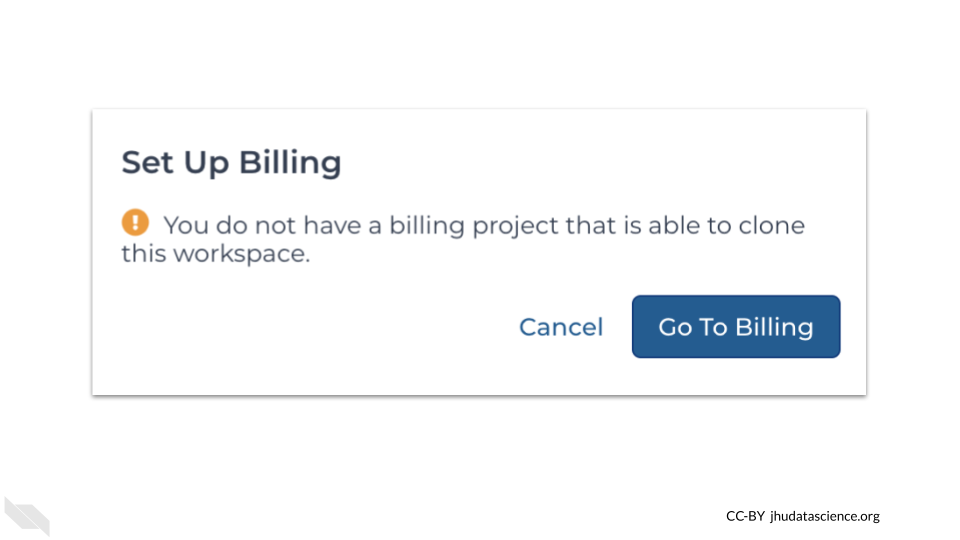
This will open a new page about linking a Google Cloud billing account to Terra. Click on the “Go to Google Cloud Console” button.

You may get a warning that you also need to set up two factor authentication. If so, please do so with your credentials. If you run into challenges, try one of your other accounts in which you have full administrative access.
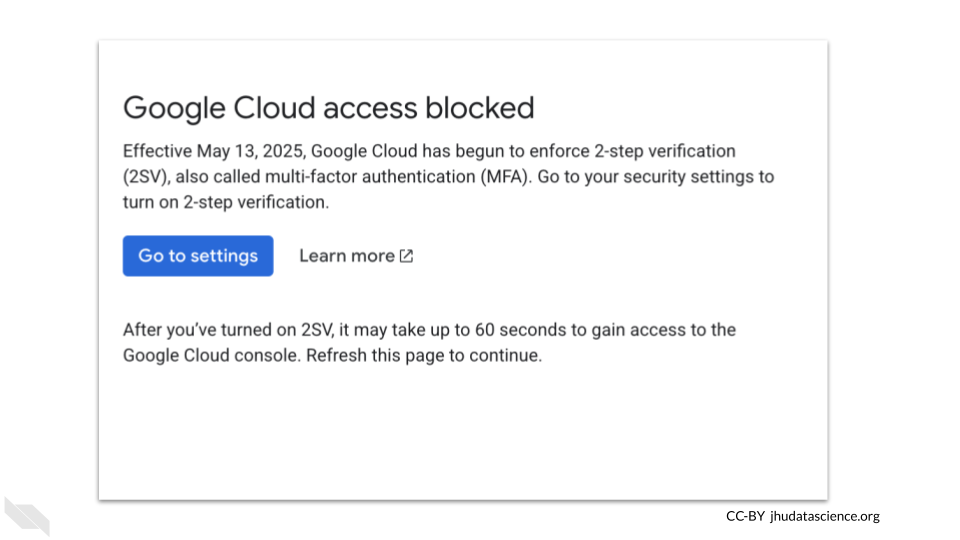
Otherwise, or after you set up two factor authentication, you should get a message about having some free credits to use. Select to allow for any needed authorization and then click on the button that says “Try for free”.

You will then need to set up your payment information. Don’t worry, you will not be exceeding the free credit amount, so you will not actually be charged!
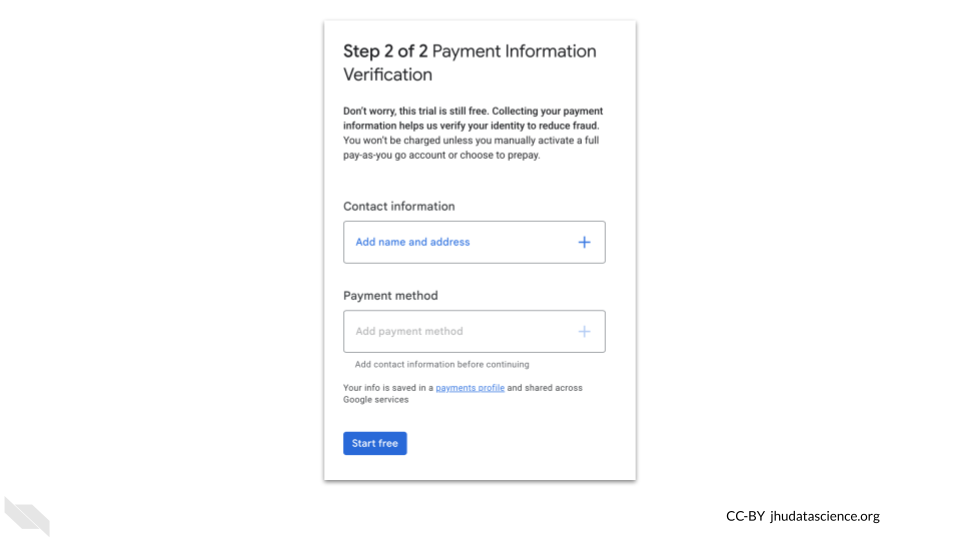
Once you do this, you will see a “Start free” button become active.

You will then see a message confirming you set up your account and have free credits.
Next you will need to add Terra to your billing account. Follow Step 2 in this guide to do so. Note that you will need to select “Project Billing Manager” instead though.
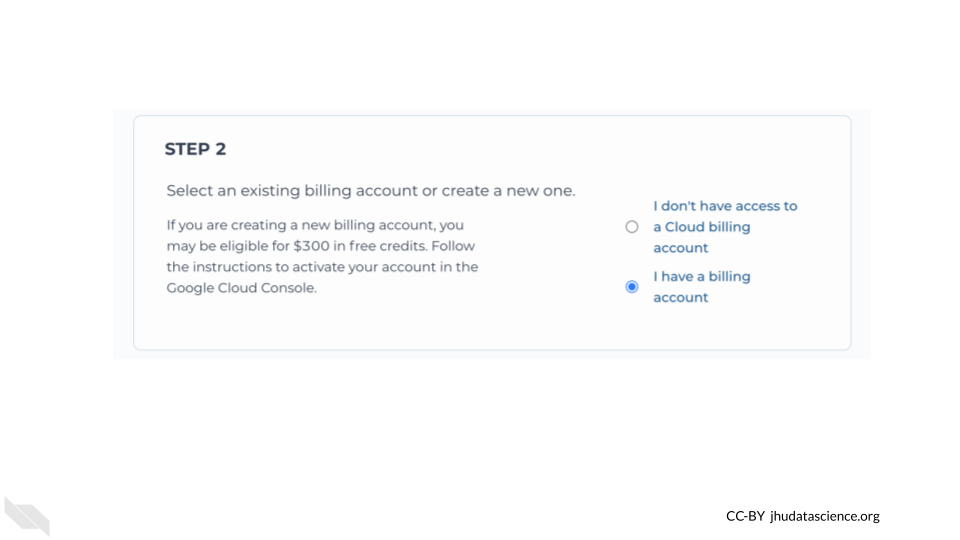
It may take a few minutes for these changes to become active, but then you can go back to AnVIL and check that you have added a billing manager for Step 2.
For this STEP 2, you will select “I have a billing account”.
Next for STEP 3, check that you have added terra as a billing manager.
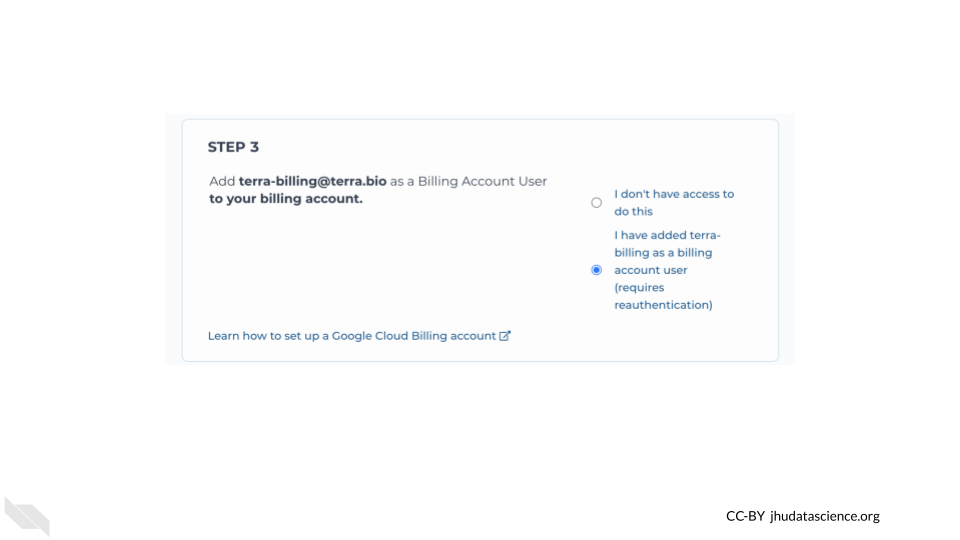
You will need to authenticate the connection with Terra again.
Finally you will do STEP 4 to create a Terra billing project. If step 4 has a warning about your account not being set up right, you may need to click the refresh button that is in the warning.
Your instructor will provide information about the billing account that you should use and will set you up with one.
3.3 Use a Billing Project
Now you may or may not yet have access visible on this screen, but go back to clone the workspace using the menu on the far left of the AnVIL_HPRC workspace. This time, clicking on clone should pull up a new window that asks for the billing project. Select the account that your instructor told you about, and do not change the other settings.
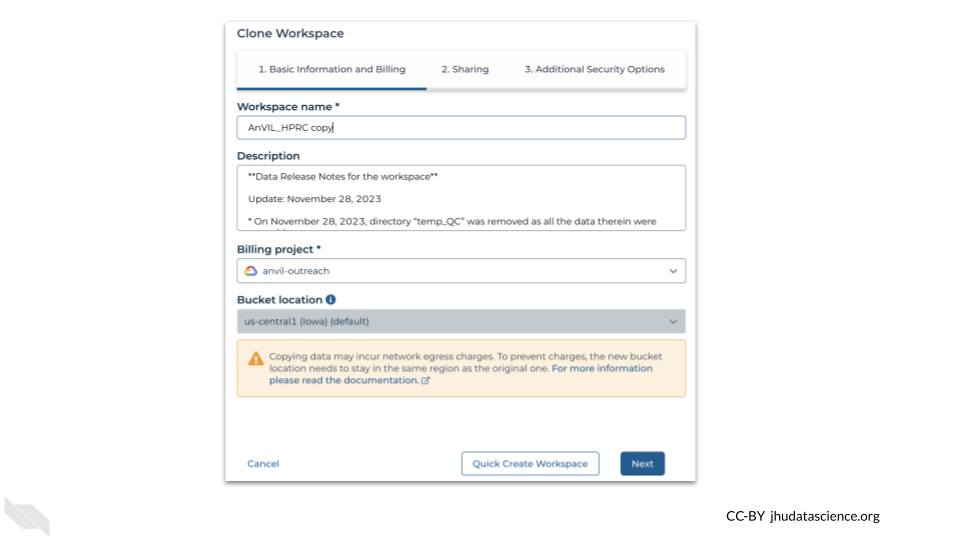
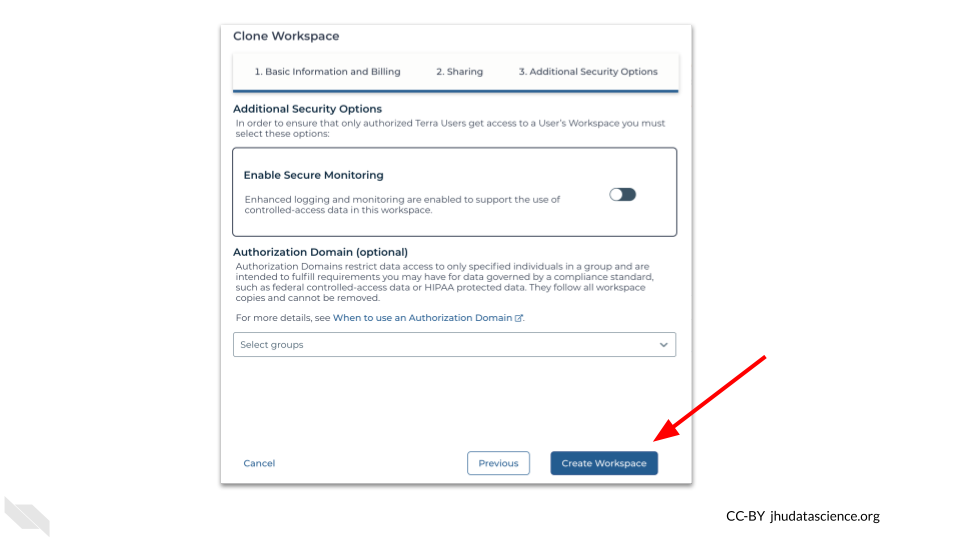
Leave everything on the next two screens (sharing and Extra Security Options) as is as well.
Finally, click the blue “Create Workspace” button in the lower right corner on the Extra Security Options screen.
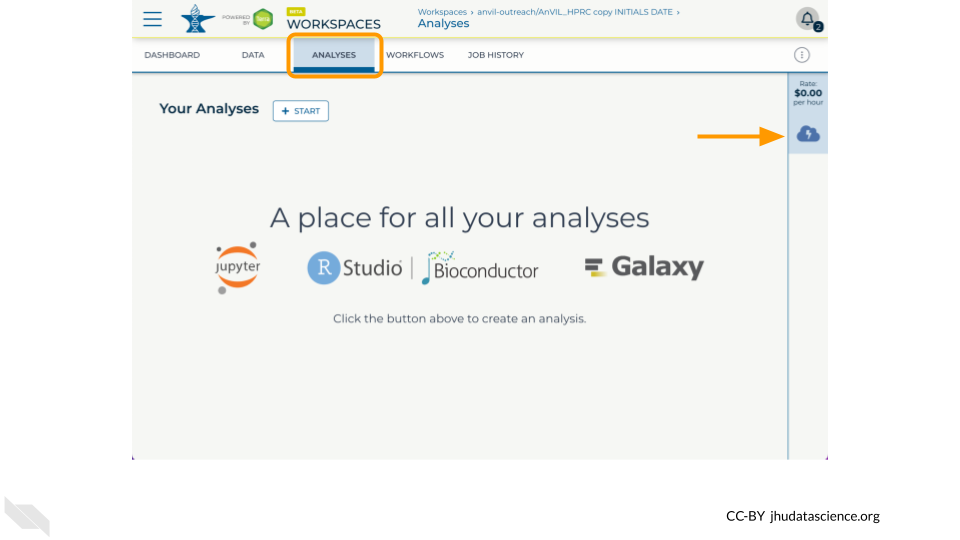
3.4 Start a Cloud Environment
- Click on the Environment Configuration (cloud icon)
- Select Jupyter Settings
- Scroll down and click “Create”
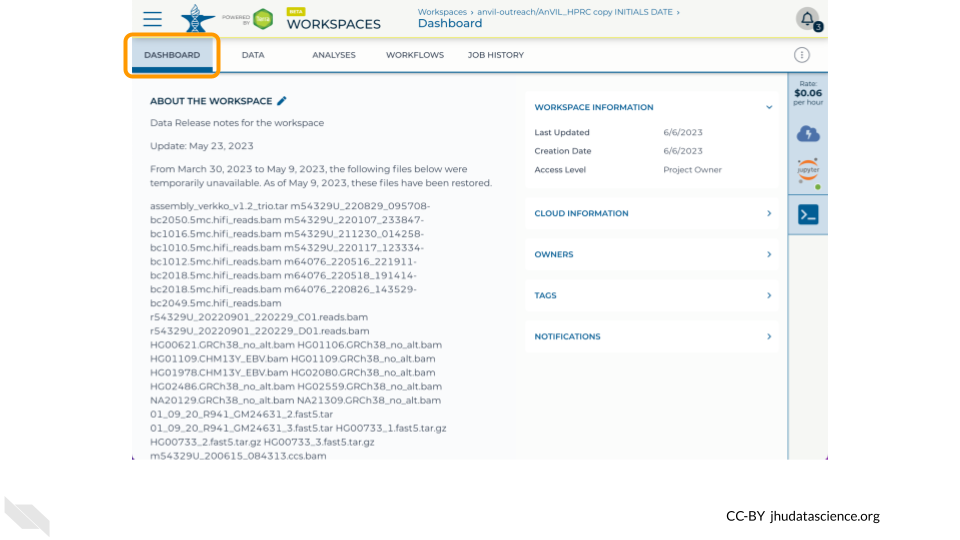
3.5 Find Tidbits
- In the Dashboard tab, what are three types of sequencing data that are available?
- In the Data tab
participanttable, what two superpopulations have the most participants? - In the Data tab
sampletable, how many samples lack any ilmn data? - In the Data tab
assembly_sampletable, what is the command to download the HG002mat_fastafile?
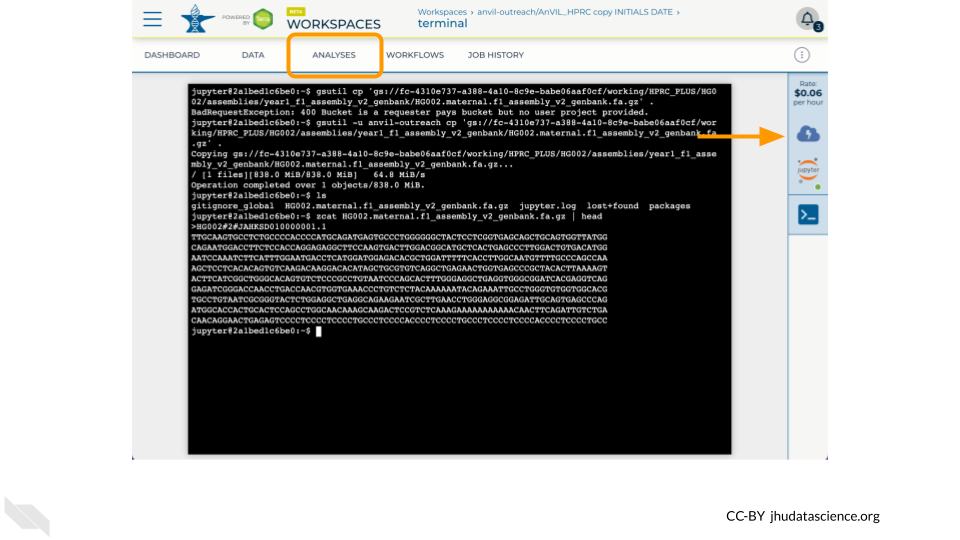
3.6 Enter Terminal
- In the Analysis tab, click on Terminal
- Make a working copy of the HG002
mat_fasta- NOTE: Requester pays buckets require
-u <google-project-id>[ref]
- NOTE: Requester pays buckets require
- Examine file with
ls -landzcat *.fa.gz | head
gsutil cp 'gs://fc-4310e737-a388-4a10-8c9e-babe06aaf0cf/working/HPRC_PLUS/HG002/assemblies/year1_f1_assembly_v2_genbank/HG002.maternal.f1_assembly_v2_genbank.fa.gz' .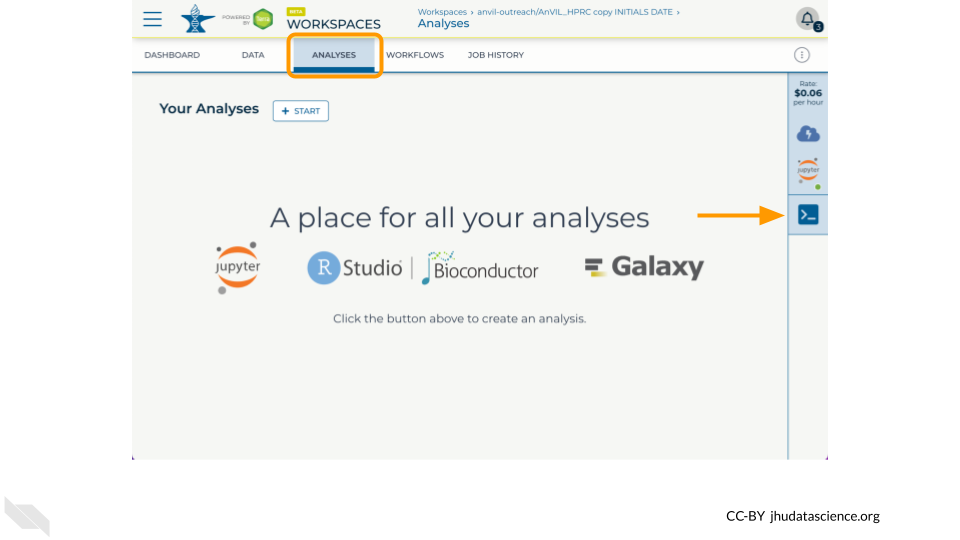
3.7 Shut Down
- Click on the Environment Configuration (cloud icon)
- Select Jupyter Settings
- Scroll down and click “Delete Environment”
- Select “Delete” after deciding to keep or delete your persistent disk
- Click “hamburger” icon in the upper left, expand your name, select Cloud Environments and confirm no unnecessary resources are running