Chapter 3 Setting up a project on GitHub
3.1 Prerequisites
3.2 How to start a repository on GitHub
Git and GitHub have a whole rich world of tools and terms that can get complex quickly, but for this exercise, we will not worry about those terms and functionalities just yet, but focus on getting code up on GitHub so we are ready to collaborate and conduct open analyses!
- Go to Github’s main page and click Sign Up if you don’t have an account.
- Follow these instructions to create a repository. As a general, but not absolute rule, you will want to keep one GitHub repository for one analysis project.
- Name the repository something that reminds you what its related to.
- Choose
Public. - Check the box that says
Add a README. For more about what a README is and what it should have, see the below section.
- Follow these instructions to add the example files you downloaded to your new repository.
Congrats! You’ve started your very own project on GitHub! We encourage you to do the same with your own code and other projects!
Any feedback you have regarding this exercise is greatly appreciated; you can fill out this form!
3.2.1 READMEs!
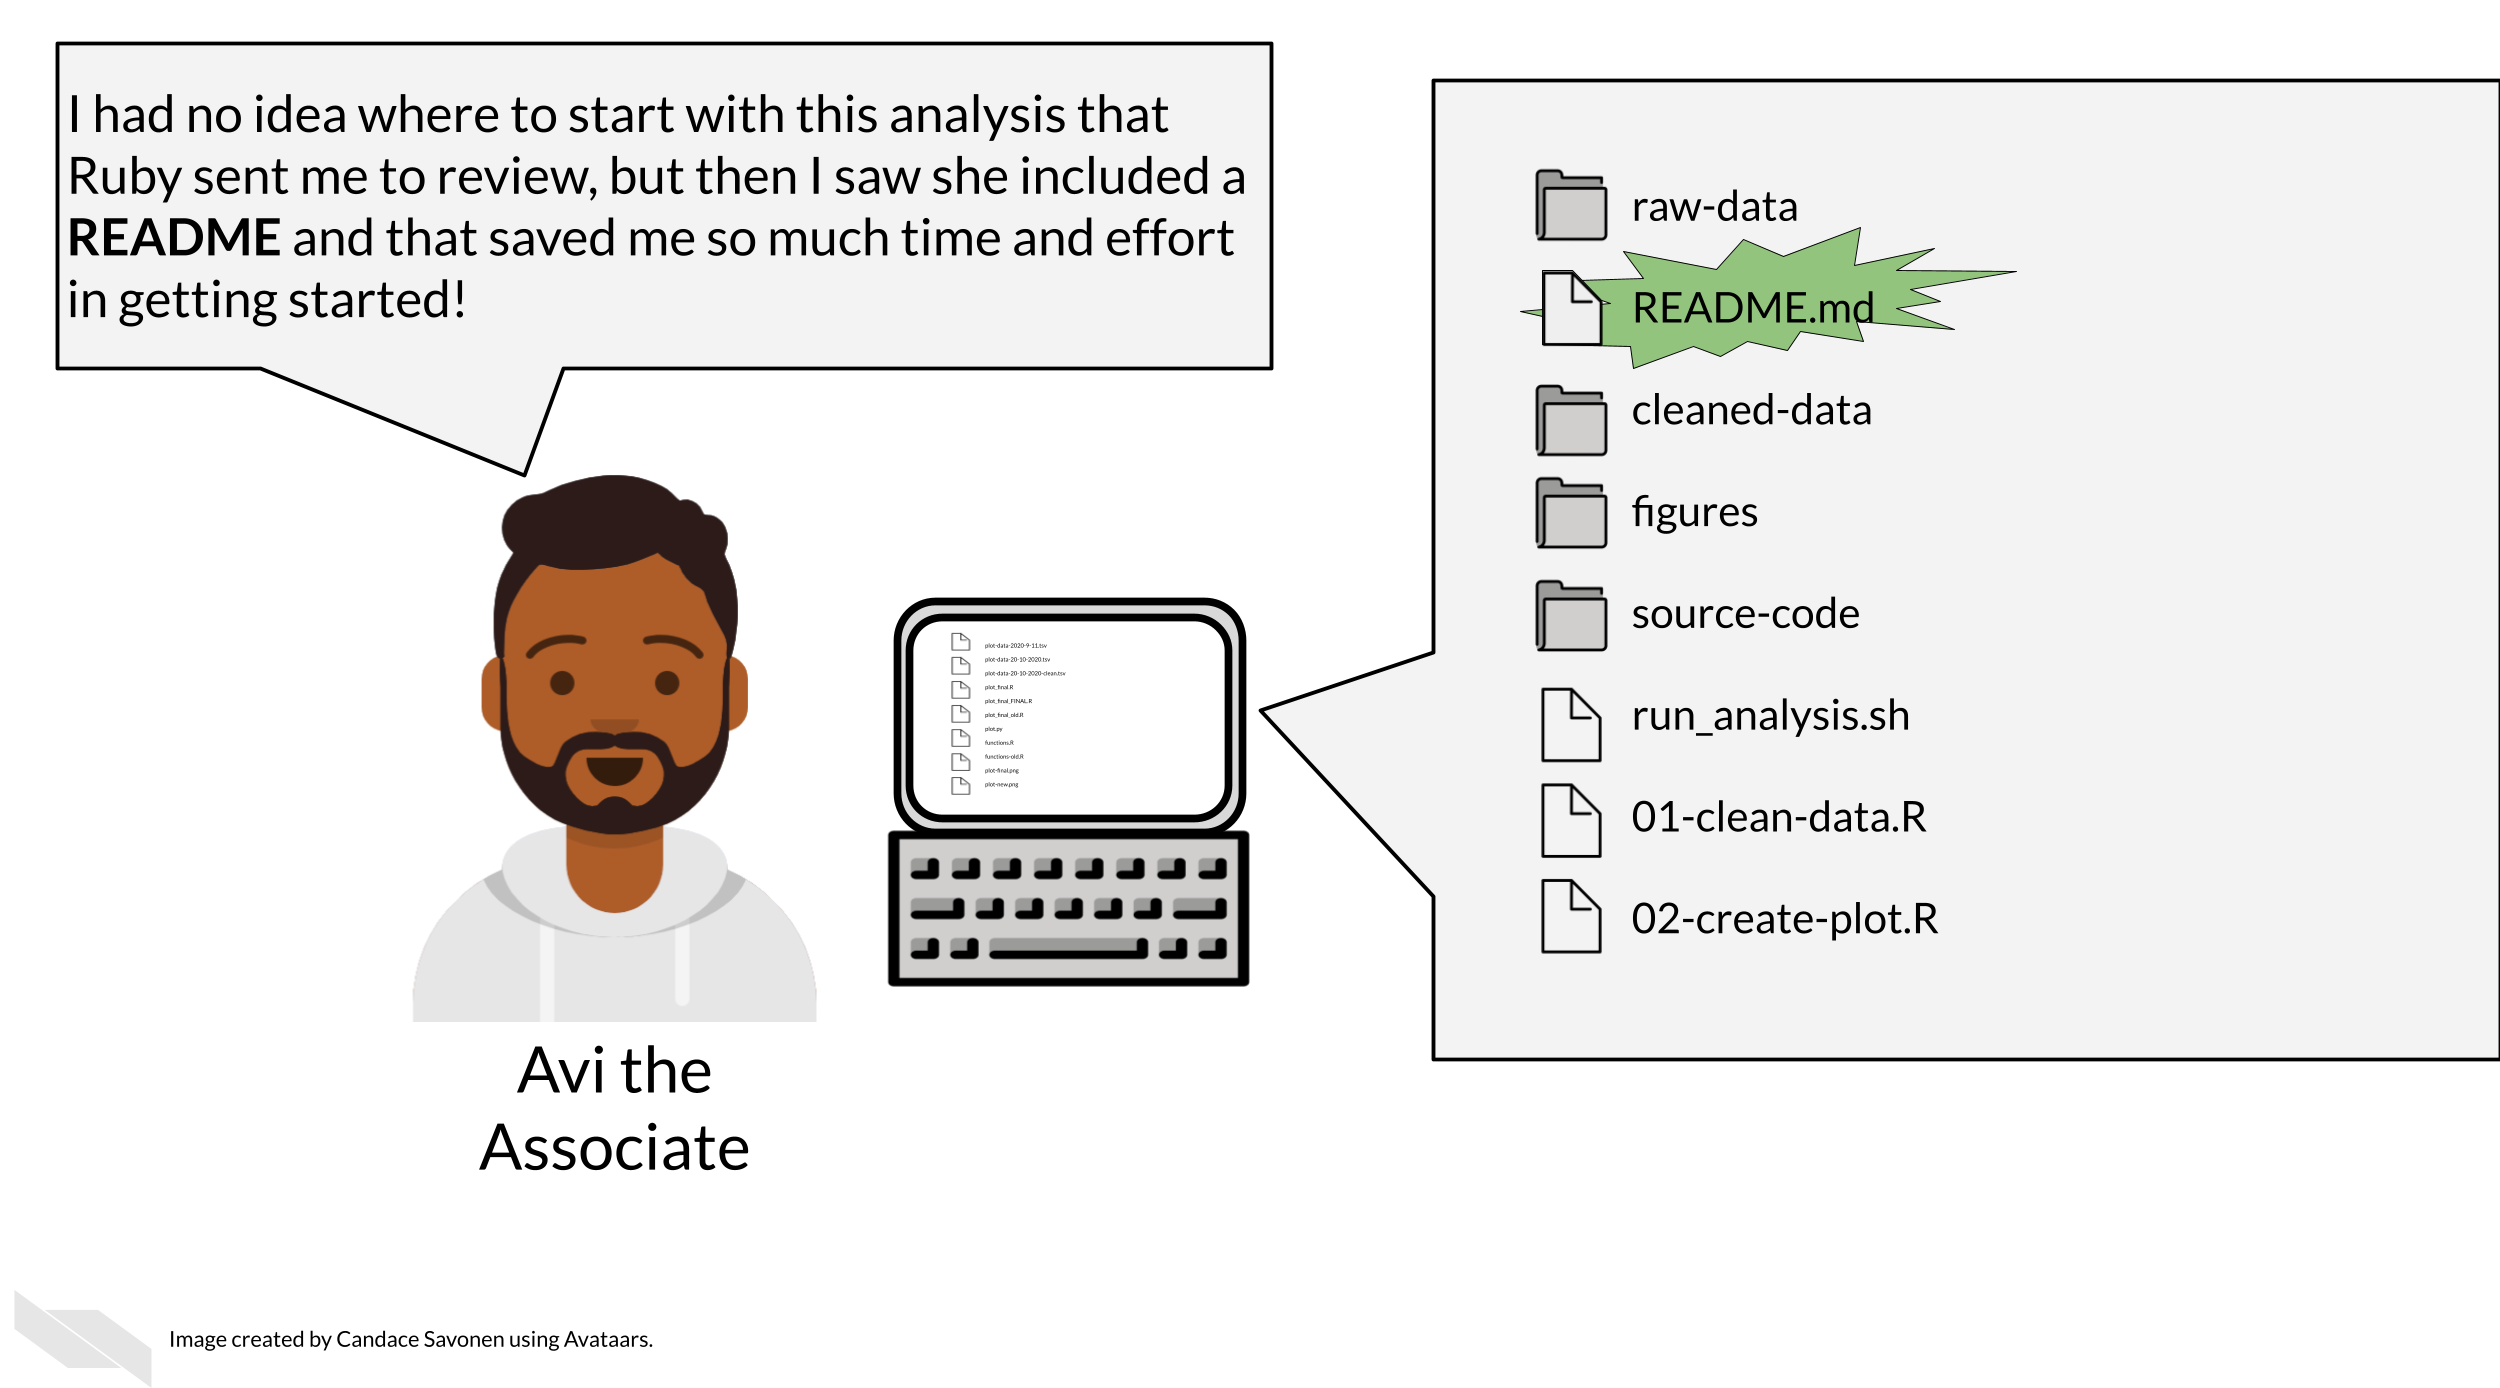
READMEs are also a great way to help your collaborators get quickly acquainted with the project.
## Warning: replacing previous import 'ellipsis::check_dots_unnamed' by
## 'rlang::check_dots_unnamed' when loading 'tibble'
## Warning: replacing previous import 'ellipsis::check_dots_used' by
## 'rlang::check_dots_used' when loading 'tibble'## Warning: replacing previous import 'ellipsis::check_dots_empty' by
## 'rlang::check_dots_empty' when loading 'tibble'## Warning: replacing previous import 'ellipsis::check_dots_unnamed' by
## 'rlang::check_dots_unnamed' when loading 'pillar'## Warning: replacing previous import 'ellipsis::check_dots_used' by
## 'rlang::check_dots_used' when loading 'pillar'## Warning: replacing previous import 'ellipsis::check_dots_empty' by
## 'rlang::check_dots_empty' when loading 'pillar'
READMEs stick out in a project and are generally universal signal for new people to the project to start by READing them. GitHub automatically will preview your file called “README.md” when someone comes to the main page of your repository which further encourages people looking at your project to read the information in your README.
Information that should be included in a README:
- General purpose of the project
- Instructions on how to re-run the project
- Lists of any software required by the project
- Input and output file descriptions.
- Descriptions of any additional tools included in the project?
You can take a look at this template README to get your started.
