Chapter 6 Setting up a Git Client
6.1 Prerequisites
6.2 GitKraken
Interaction with git and GitHub can be done completely from the command line, but sometimes this can be harder to keep track of. To help us navigate this, we recommend using a git client. There are a lot of different clients out there, and they are generally free for most situations you will need. In this course, we will take you through how to use GitKraken, one such git client.
GitKraken is nice because they have lots of nice tutorials, it works pretty well, and its free for most use cases. But if you find GitKraken doesn’t work for you, you can explore other git clients. For this course, we’ll be using GitKraken.
6.3 Install GitKraken
Follow their instructions to sign in with your GitHub account. It will ask you to authorize your GitHub account to connect to GitKraken. Click Authorize.
You may find it helpful to watch GitKraken’s own tutorial (linked below) about how to “git” started, but we will also guide you through each step!
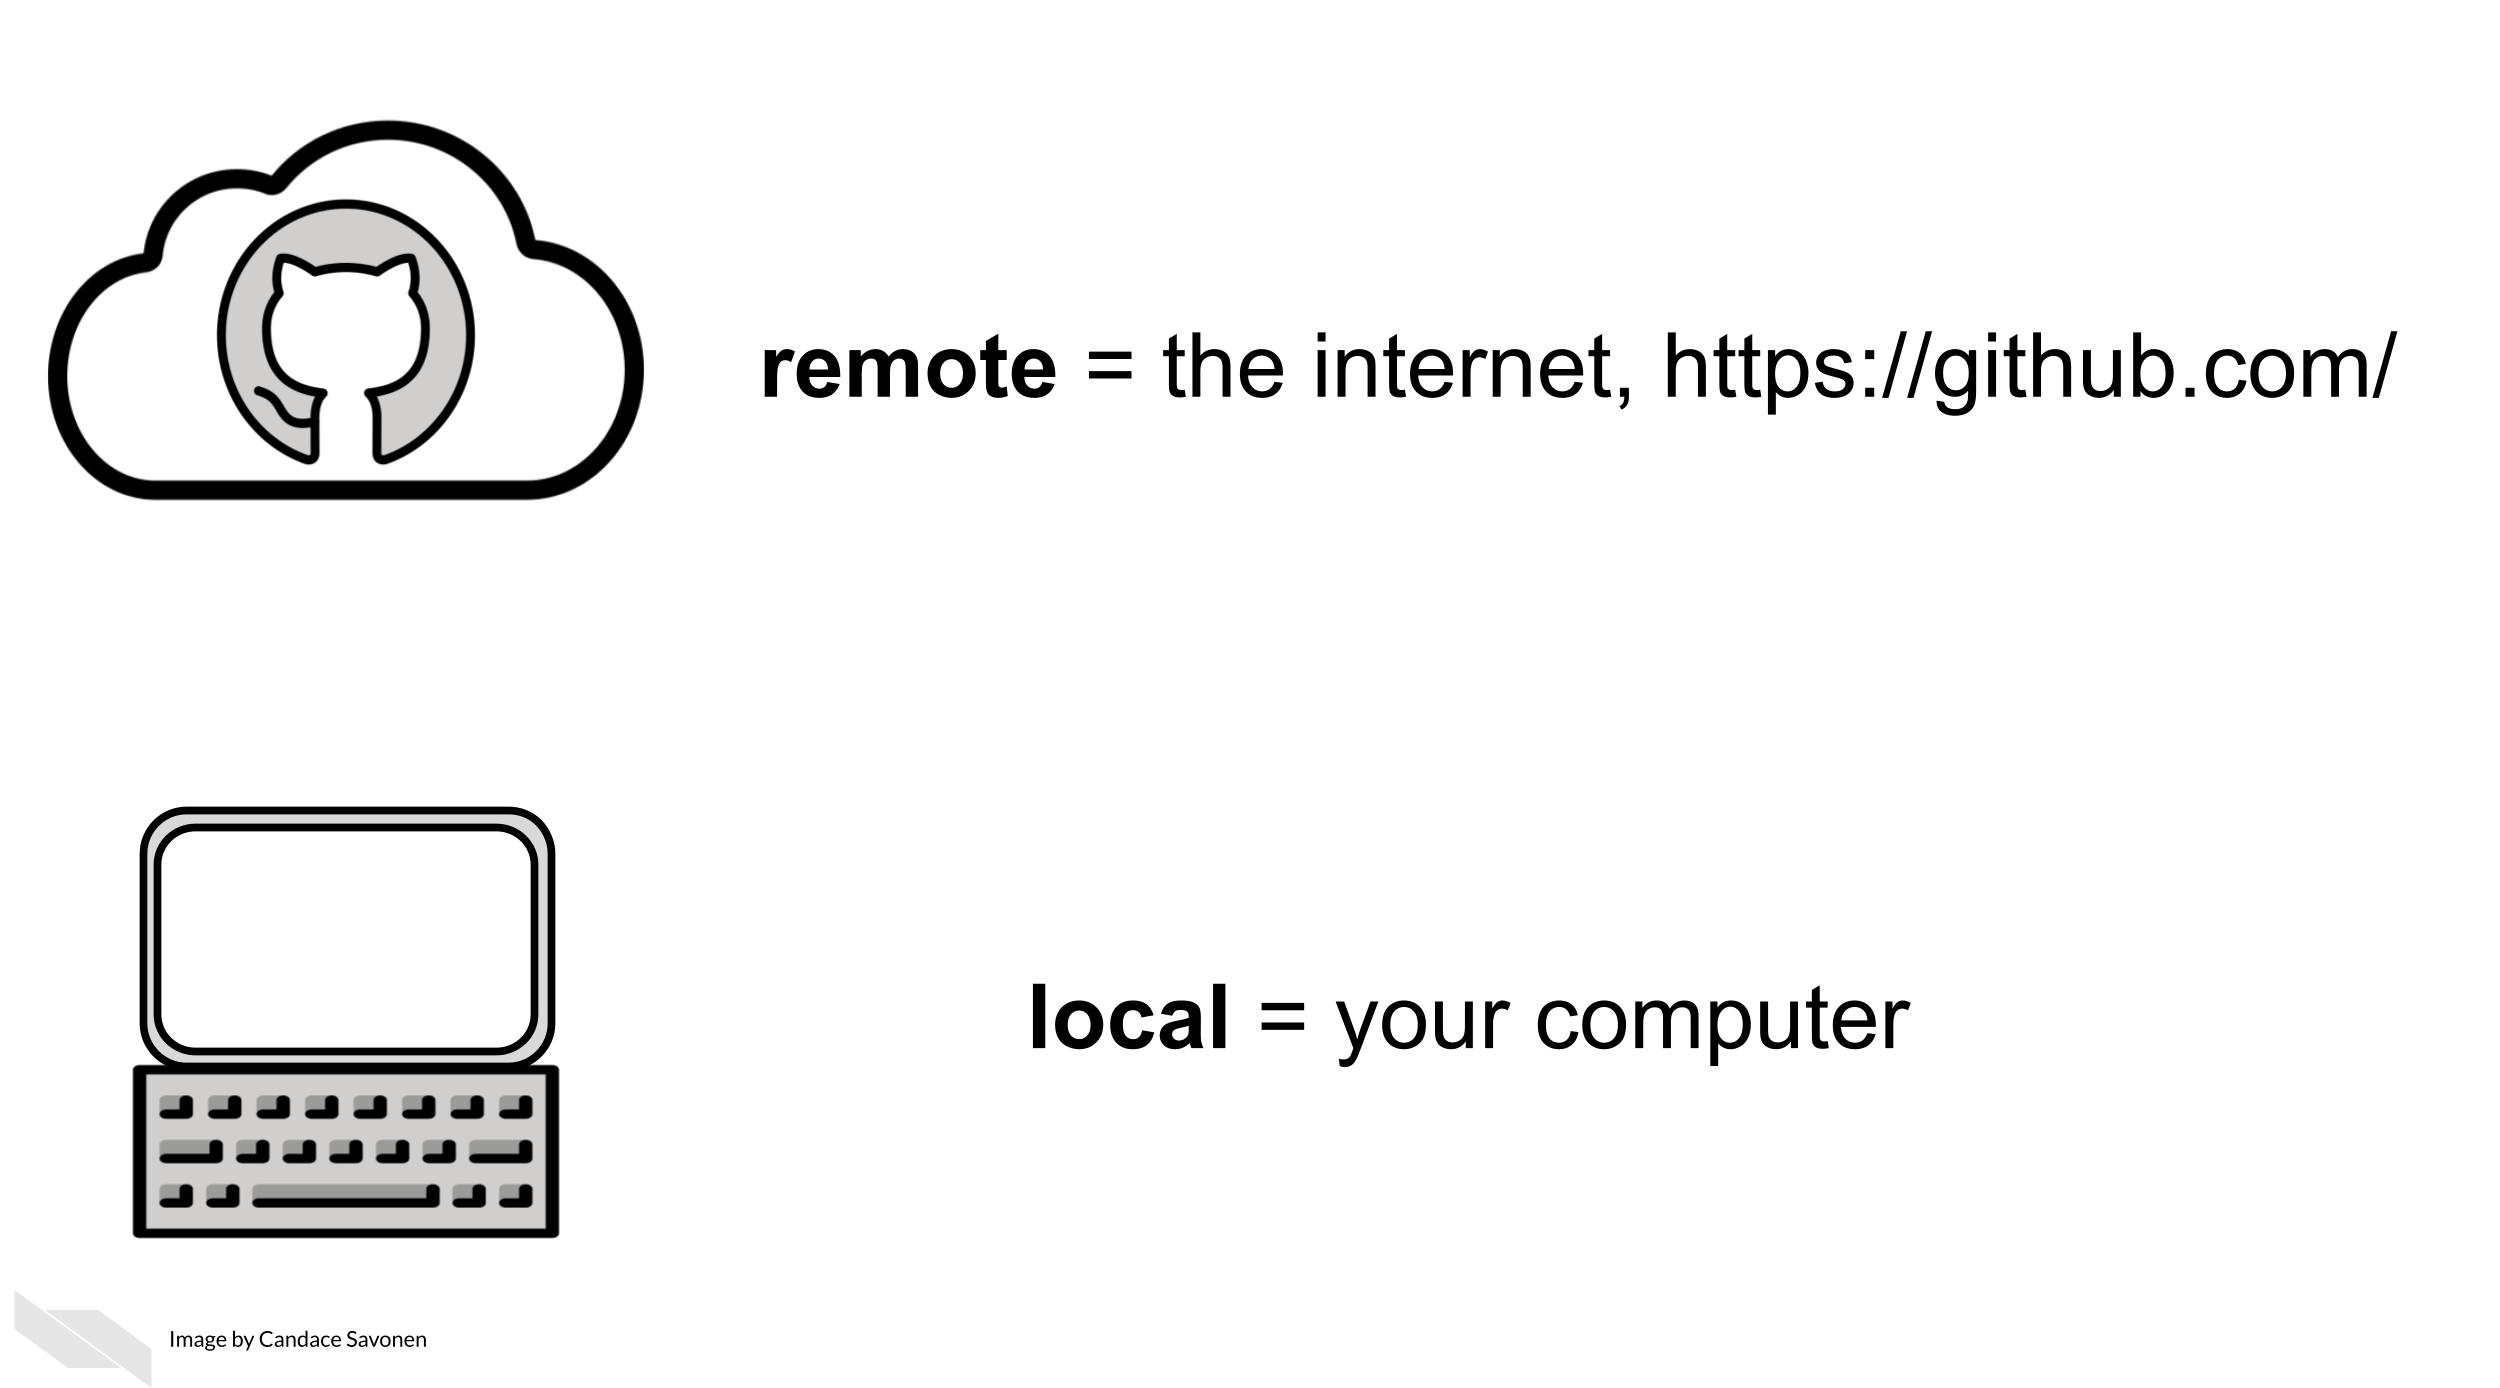
GitHub has a host of terms that can feel like a whole language at first, but we’ll introduce them one at a time. To start, a lot of the GitHub workflow centers around handling copies of your code that are either stored on the internet (are remote) or are stored on your computer (are local).

Remote = GitHub on the internet
Local = What’s on your own computer
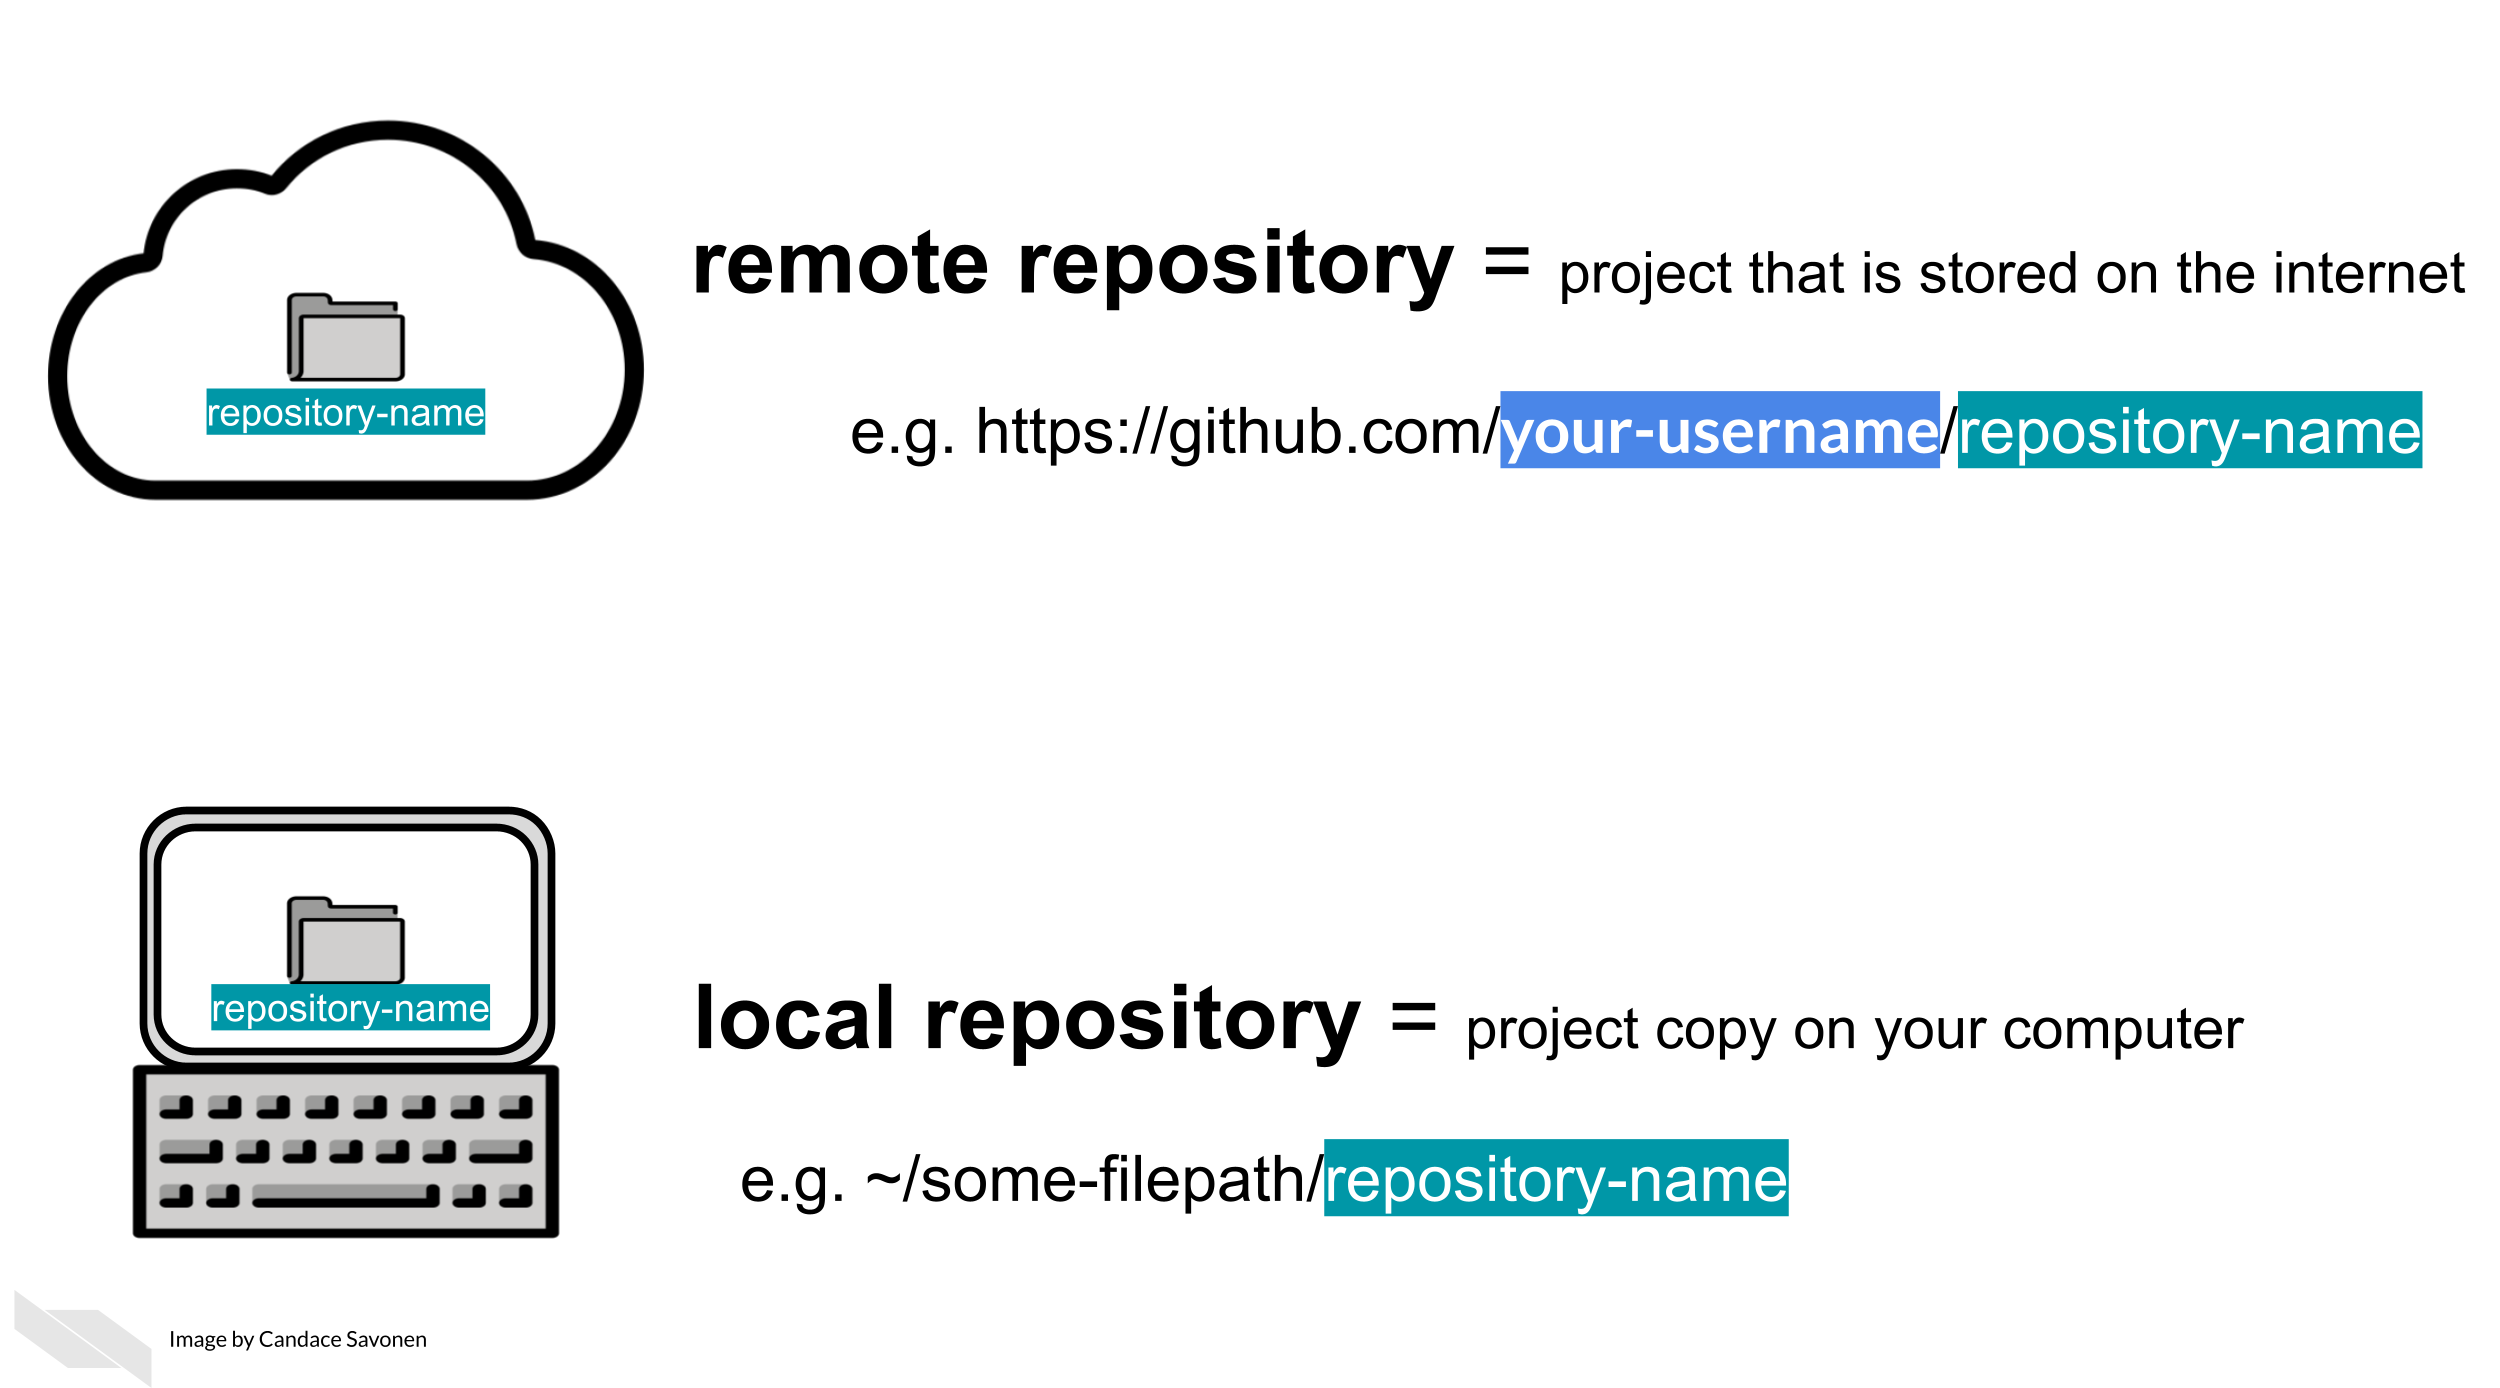
A repository, in the case of a data science project, is mostly synonymous with the word “project”. Using GitHub, a project will exist both as a remote repository and a local repository (in other words, it will be on the internet on GitHub and on your computer).

Repository = a set of project files that have a location on GitHub
