Chapter 3 Set Up the Workflow
3.1 Set Up Inputs
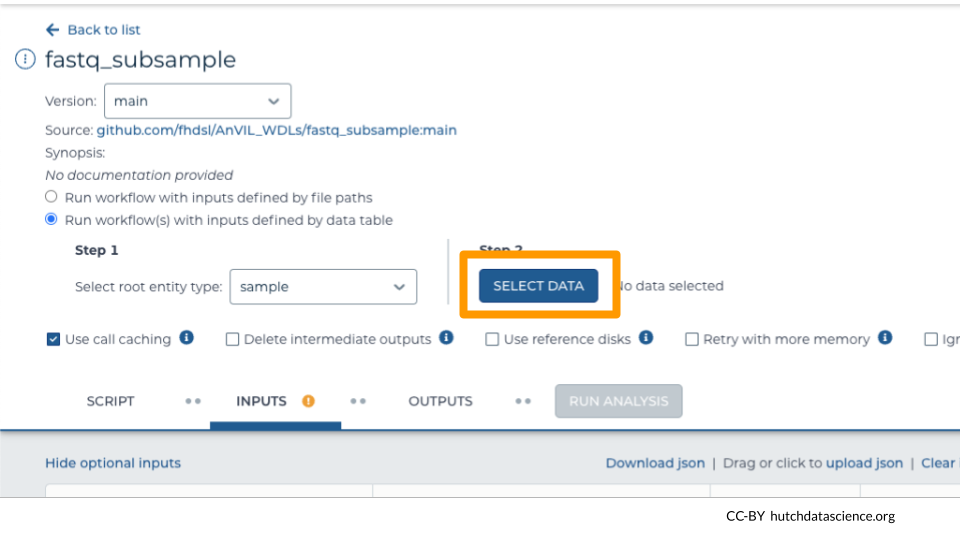
Use the “SELECT DATA” button to select the samples (rows) you want to subset. You can select all or some samples.
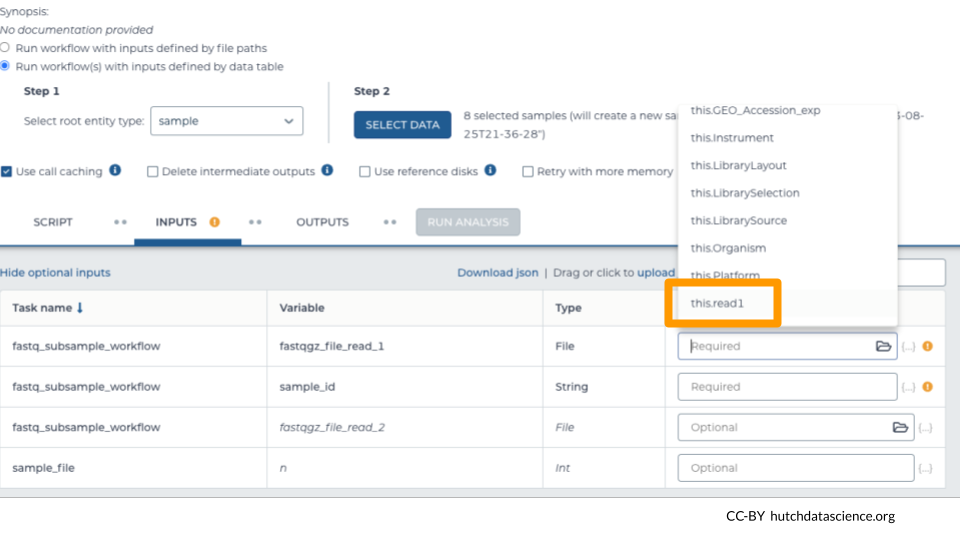
Indicate which columns in the DATA tab are used as workflow inputs.
The first workflow input should be a fastq or zipped fastq file. The workflow calls this input fastqgz_file_read_1. Under “Attribute” select the column that contains a link to the first set of reads.
For single-end sequencing, the fastqgz_file_read_1 input is the only file containing sequencing reads in your data.
For paired-end sequencing, the fastqgz_file_read_1 input is the first of two read files.
In this example, the column with the fastq file link is called “read1”. It will look like “this.read1” under “Attribute”.
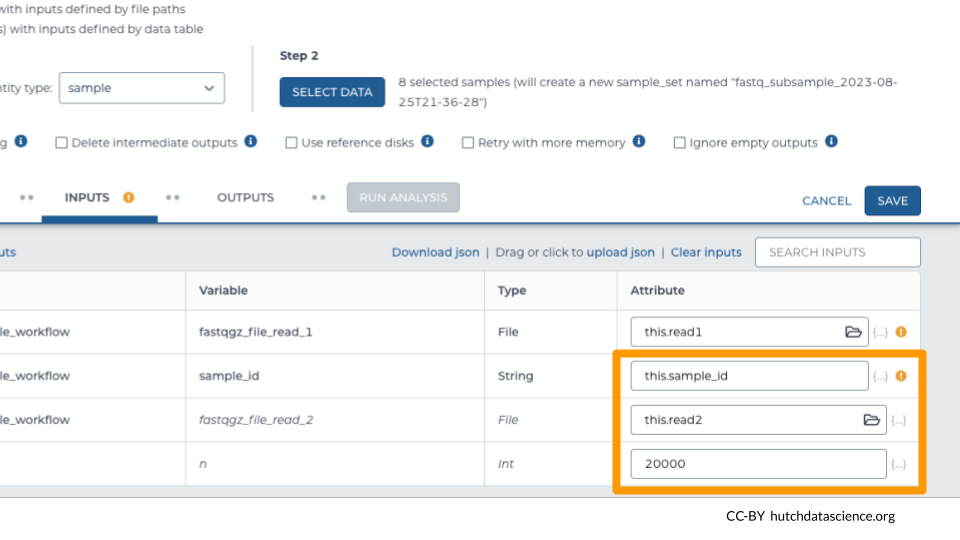
Select additional inputs.
Required: In this example, we’ve selected “sample_id” as the column containing the name of the sample. This names the output file appropriately.
Optional: “read2” indicates the second set of reads in our paired-end sequencing approach. Skip this if you have single-end reads.
Optional: Indicate how many reads you want in your subsample file. In this example, we wanted 20,000 reads. (Default: 10,000)
3.2 Set Up Outputs
Workflow outputs are written to a Google Bucket. Setting up the workflow outputs creates links to these outputs inside the DATA in our workspace, making them easier to locate.
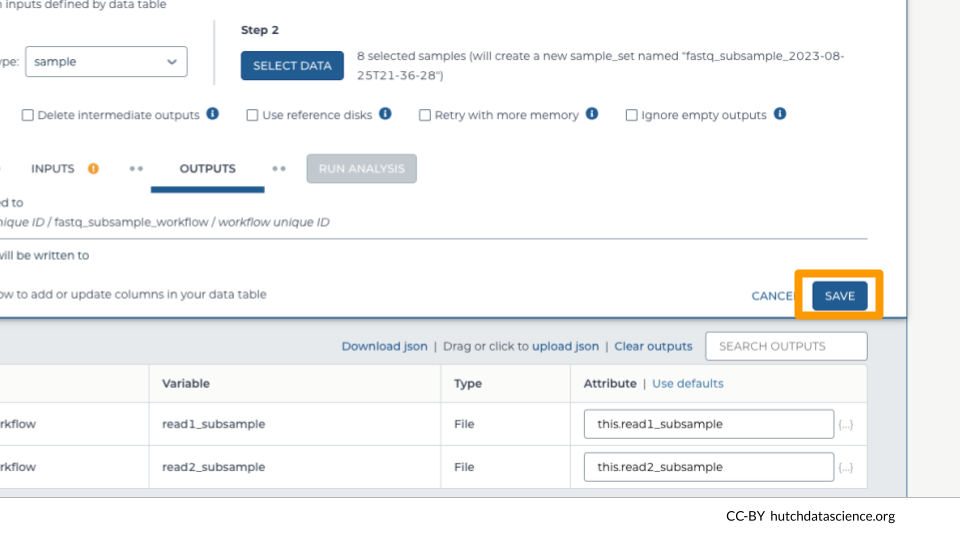
Select the “OUTPUTS” tab. Select “Use defaults” to use the default output column naming schema.
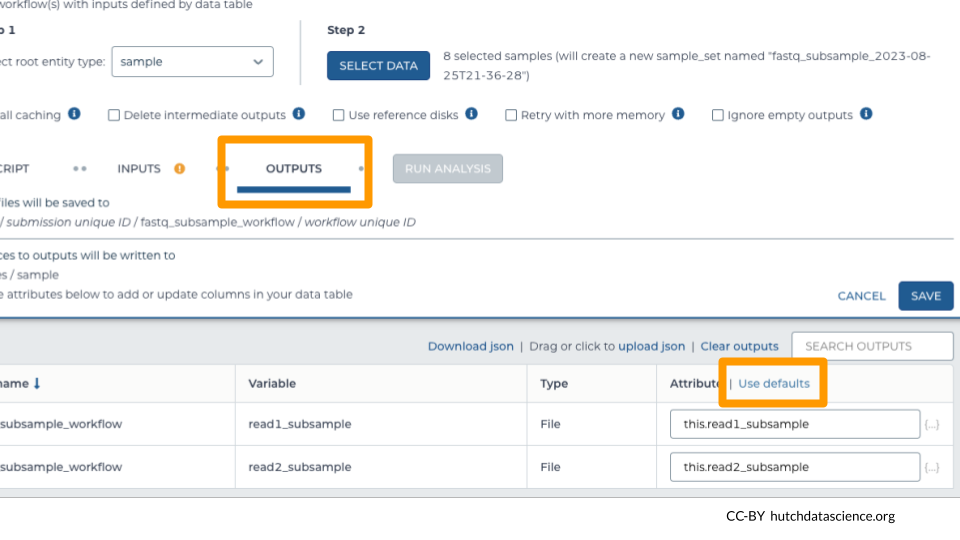
Click “SAVE”.
