Chapter2 Temporary Stub
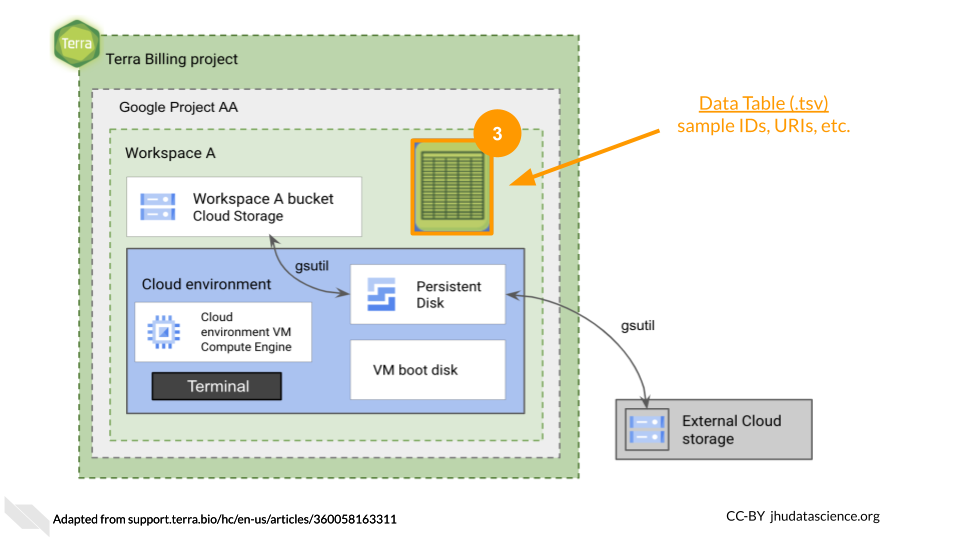
Data Tables provide a way to organize data and metadata, including URI links to storage buckets. These tables are a convenient way to organize input for analyses as well as tracking workflow outputs.
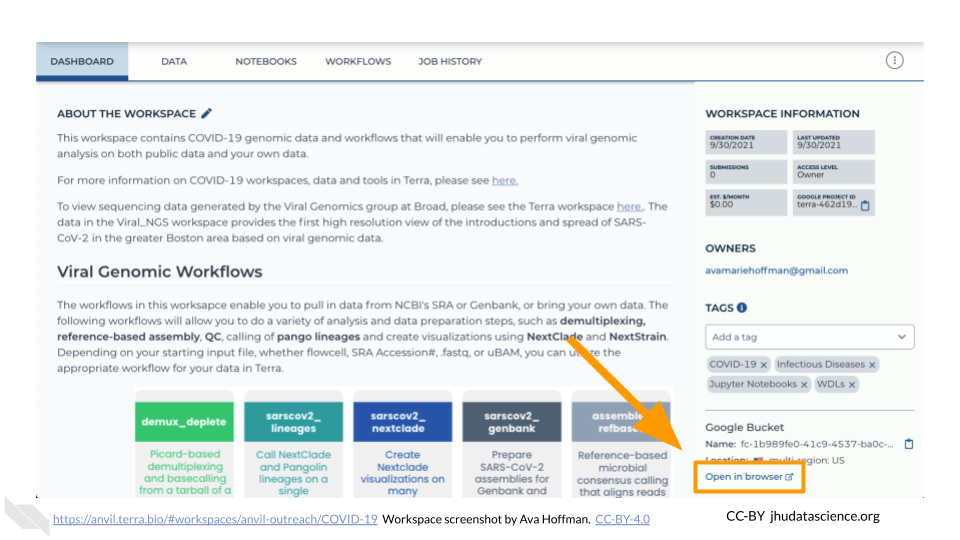
The starting point for bringing your own data to AnVIL is the Workspace Dashboard. At the bottom right, you’ll find the full path to the Google Bucket information corresponding to your Workspace. You can click the clipboard icon on the right to copy the name of your Workspace Bucket. You will be able to see any uploaded files by clicking the “Open in browser” link.

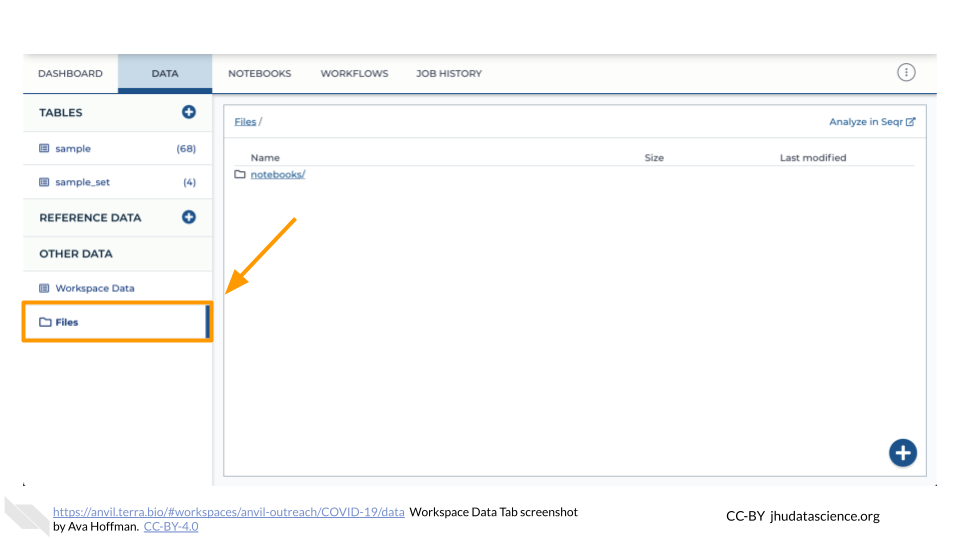
You can also see any uploaded files by clicking the “Files” directory at the bottom left in the Data Tab.
2.1 Browser: Upload Single Files
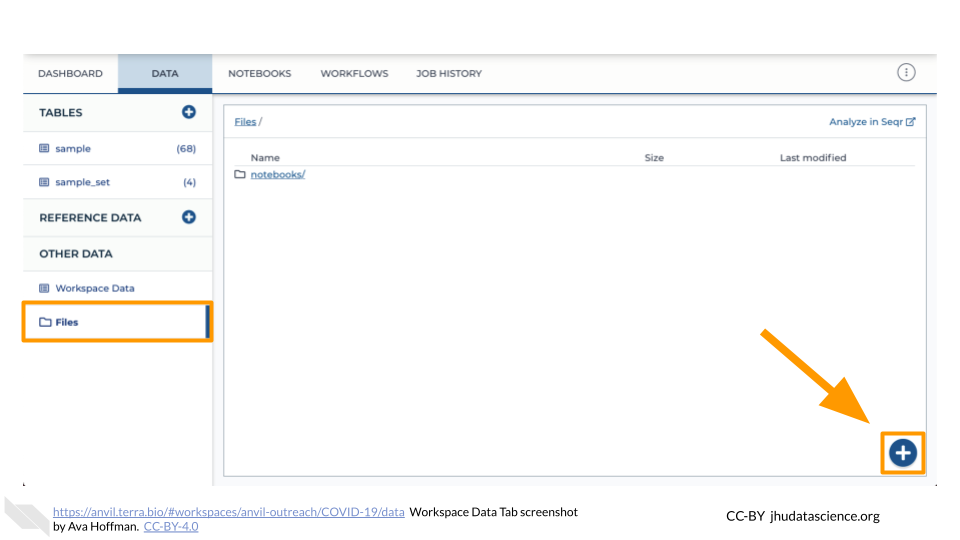
Click the “Files” directory at the bottom left of the Data Tab. Then click the “+” button in the bottom right corner of the screen. This will prompt a file browser on your local machine.
2.2 Browser: Upload Folders
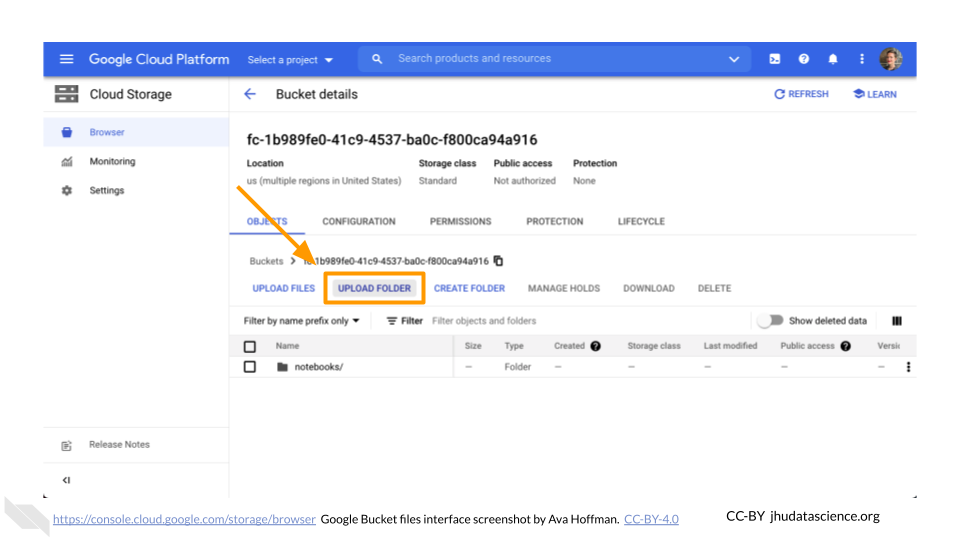
Click the “Open in browser” link on the bottom right of the Workspace Dashboard Tab. This will open a new browser window or tab directed to your Workspace’s Google Bucket on the Google Cloud Platform.
Here, you can upload files and manage your data and folders. You can also upload an entire folder by clicking on “UPLOAD FOLDER”.